The Great Gallery Wall Guide

Plan you wall before start hanging your art
Gallery walls are a wonderful trend for adding colour and personality to your home. How to combine posters of different styles, colors and sizes? The imagination knows no limits!
Our interior experts will give you help and inspiration. Design your gallery wall in 6 steps!
1. Measure your wall
2. Choose motifs according to the furnishing style
3. Arrange the posters on the floor
4. Measure the template
5. Mark on the wall with a pencil
6. Correct if necessary & hammer in the nails

Part I: Having an idea is a good start
The dream of your own picture wall often begins with bare walls. But wall design with posters is not only for decoration - it gives the room a certain mood or, as some of our artists put it, "a soul". Gallery walls present themes, feelings and thoughts. They place accents on a room or make real statements.
Ask yourself the following questions:
- What mood do you want to create?
- Do you want to express something specific?
- Do you already have favourite posters that you want to put together?

Think about the big picture
When you put together a gallery wall, keep in mind that the individual posters work less on their own and more as a whole. If you only want to combine 2-3 posters, the picture wall can be a bit more detailed and colourful without appearing "overwhelming". The more motifs you combine, the more important it becomes that they fit together and harmonise as an overall picture.
Choose mood and colour
The colours of the posters will add to the mood of the room - so ask yourself what kind of atmosphere you want to create. If you want your gallery wall to “blend" into the wall discretely, choose a similar shade as your wall. Complementary colours (e.g. blue and orange) or nuances of one colour have a harmonious effect on the eye. Choose 1 or 2 main colours or if you like a classic vibe. How about a pure black and white gallery wall?
Find your motifs
Sometimes a motif that you absolutely want to have on your wall enters your mind spontaneously. For instance: you want a little green in your room. Deer or forest art prints quickly come to mind. And if you need help searching, our search function 🔍 helps you search for keywords such as styles, motifs, artists and locations.
Part II: Assembling your posters
Found your favourite posters but don't know how to arrange them? Here we show you 4 different arrangements that are particularly popular when planning the picture walls:
Big and small
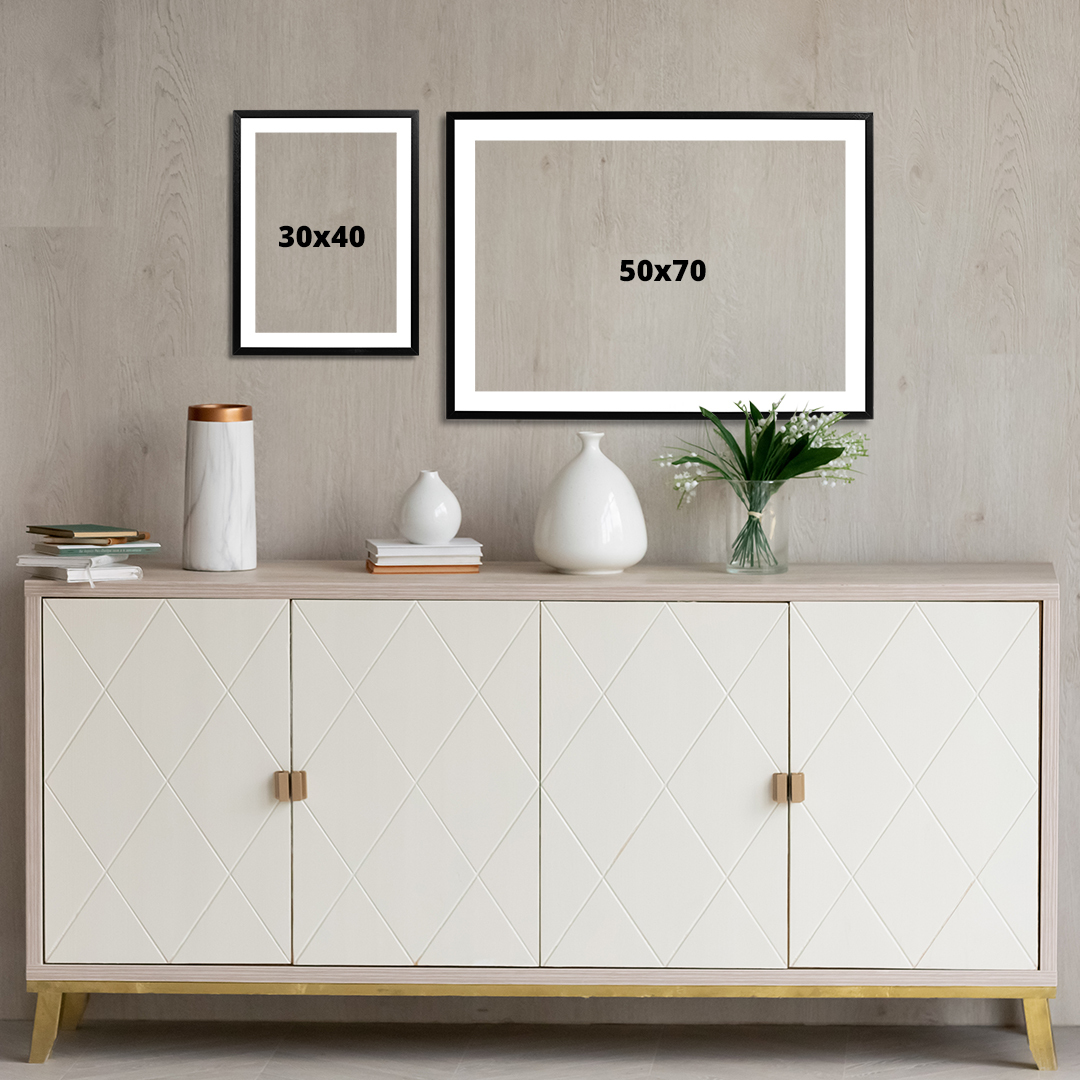
In small rooms, for instance one-room apartments, a simple combination of images can have a great effect. A larger and a slightly smaller picture next to each other creates a sense of tension and energy. A combination of landscape and portrait formats is also possible.
The classic couple
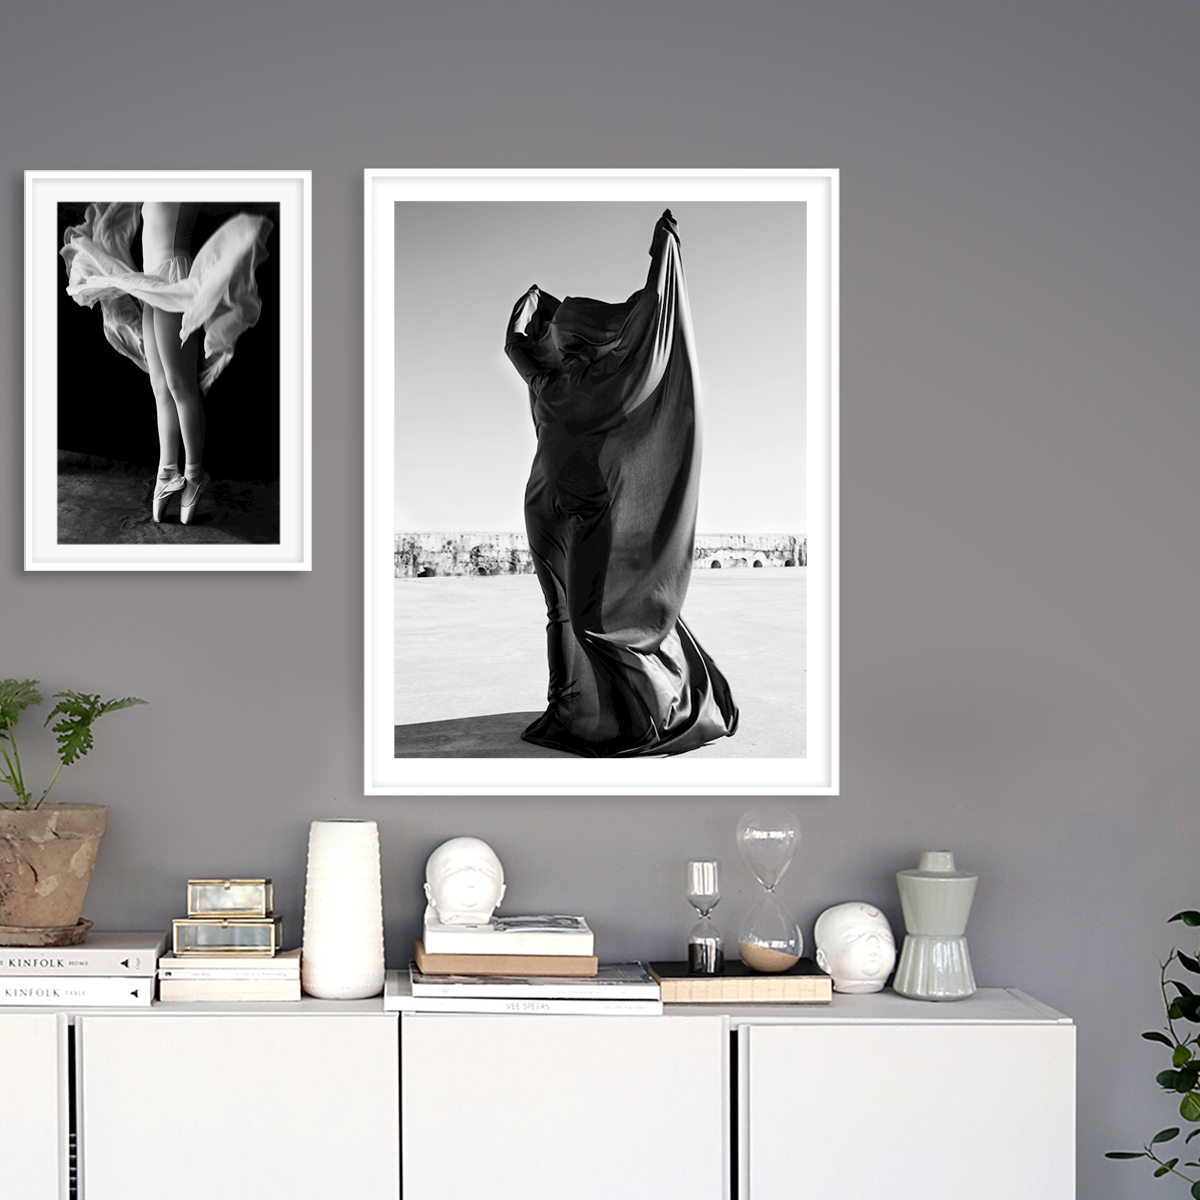
Hanging two posters side by side is a timeless classic. Because this combination is symmetrical, it fits very well over a sofa or sideboard. Note, the motifs do need to fit together.
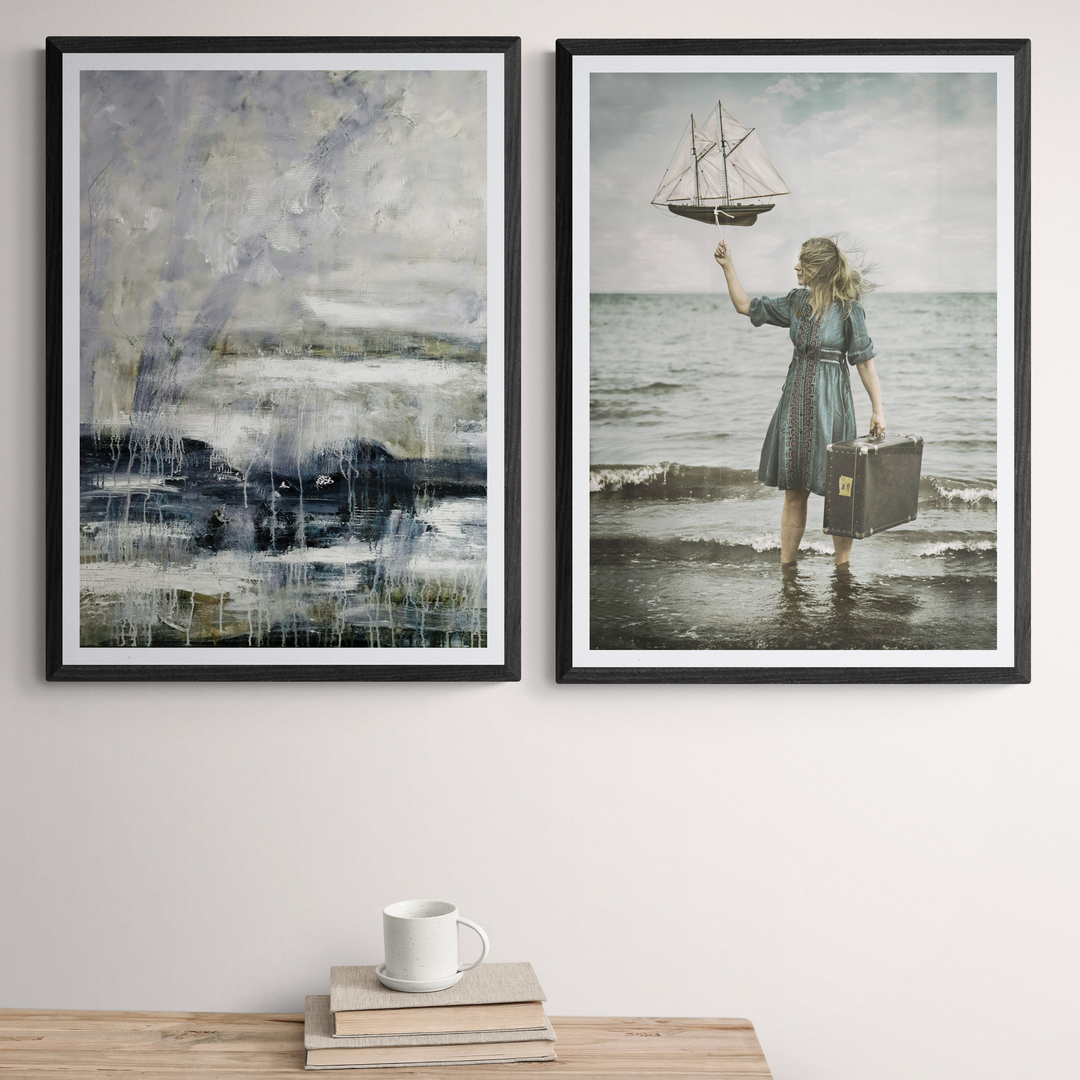
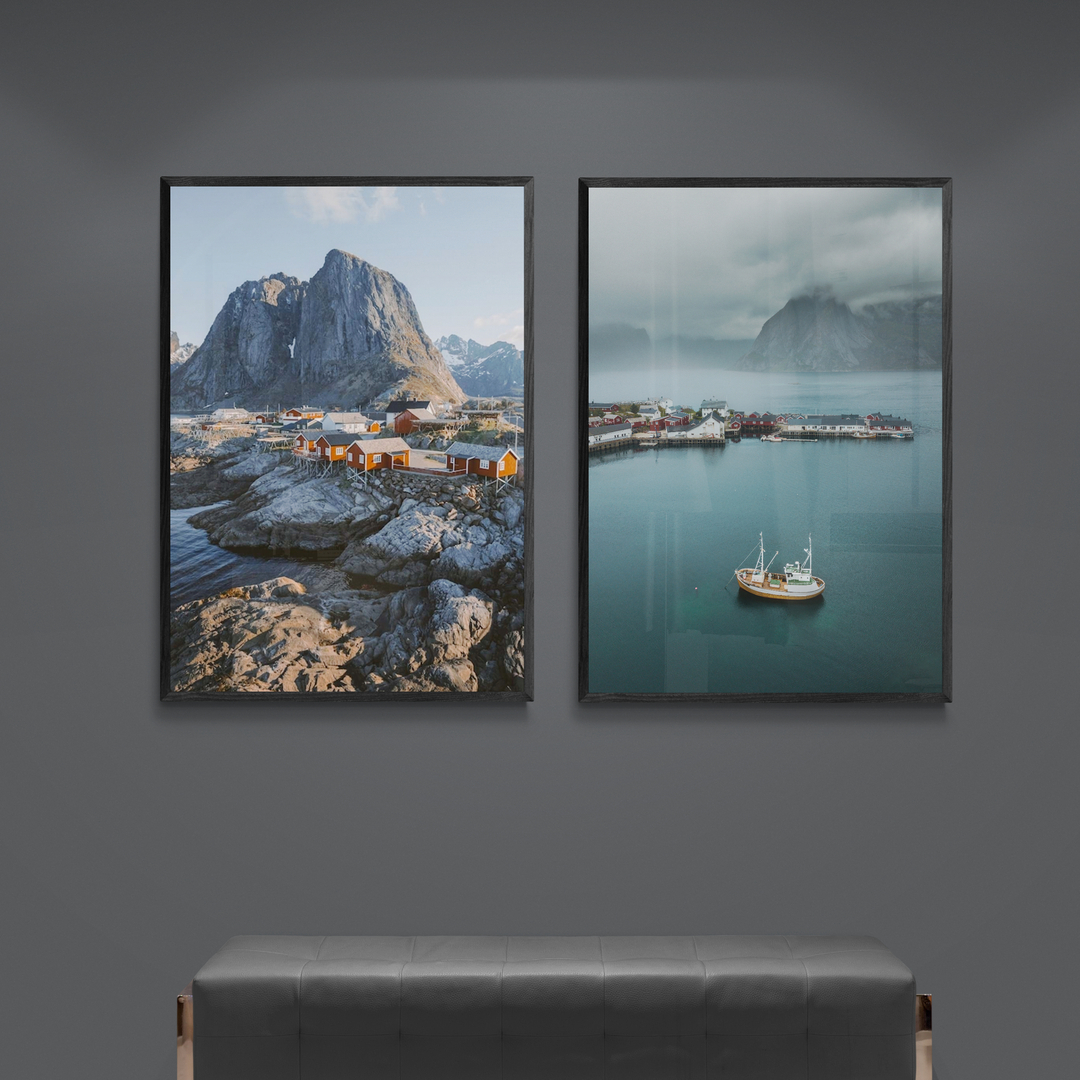
Collages
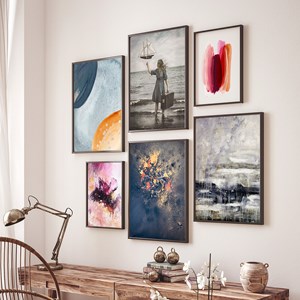
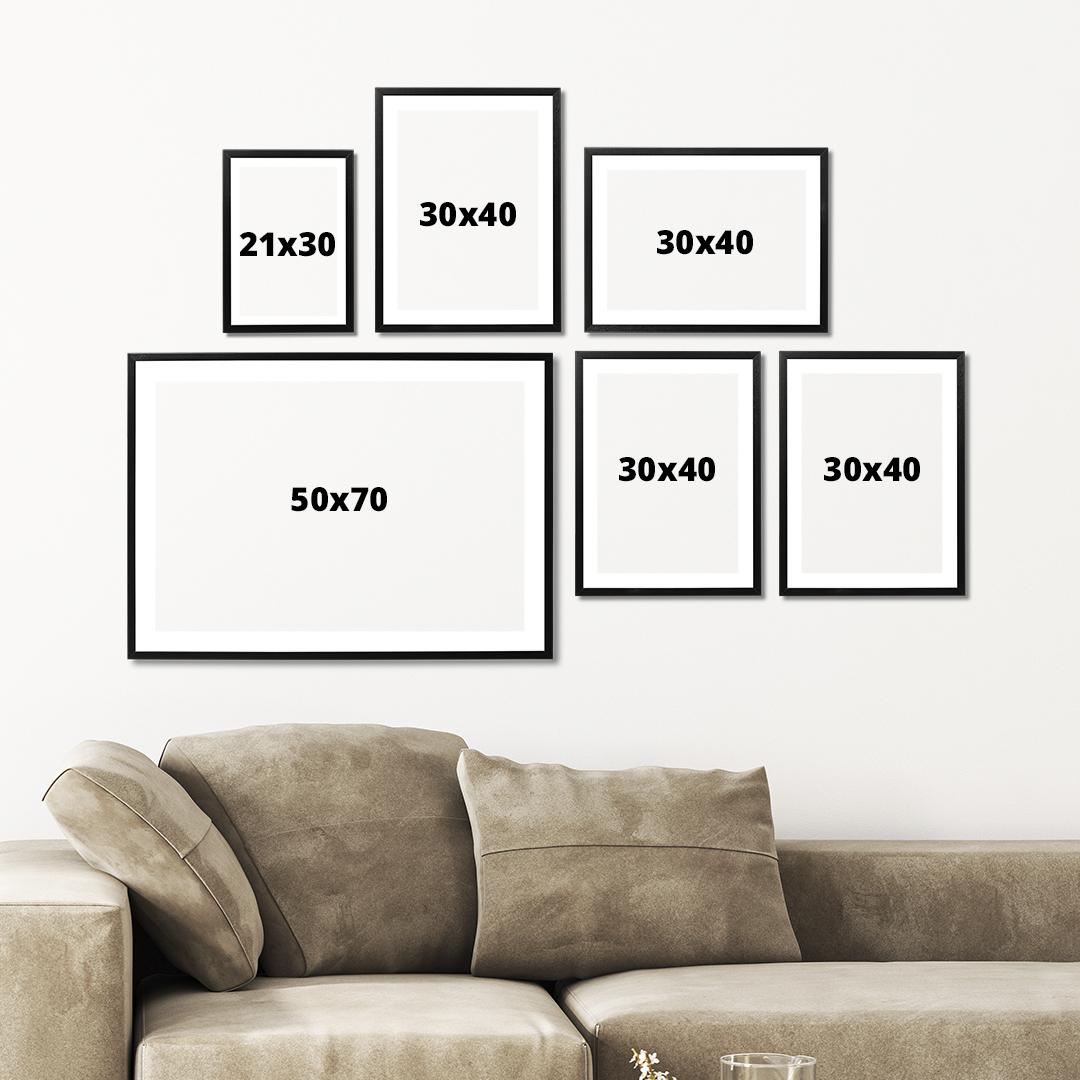
Combining posters of different sizes or placing them on a sideboard, can create a very decorative effect. You decide what energy you give to the overall picture. However, make sure that the same distance between the posters is always maintained.
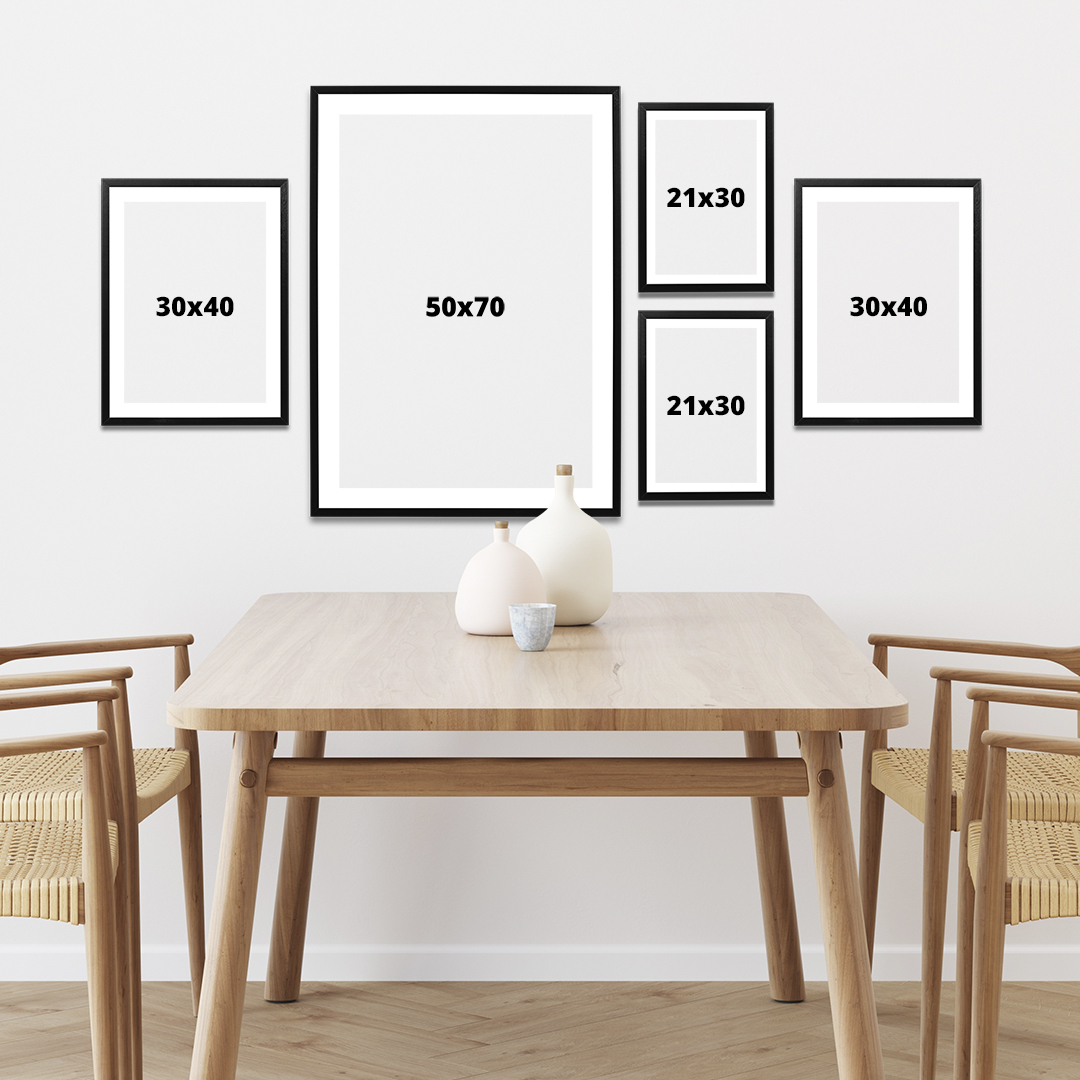
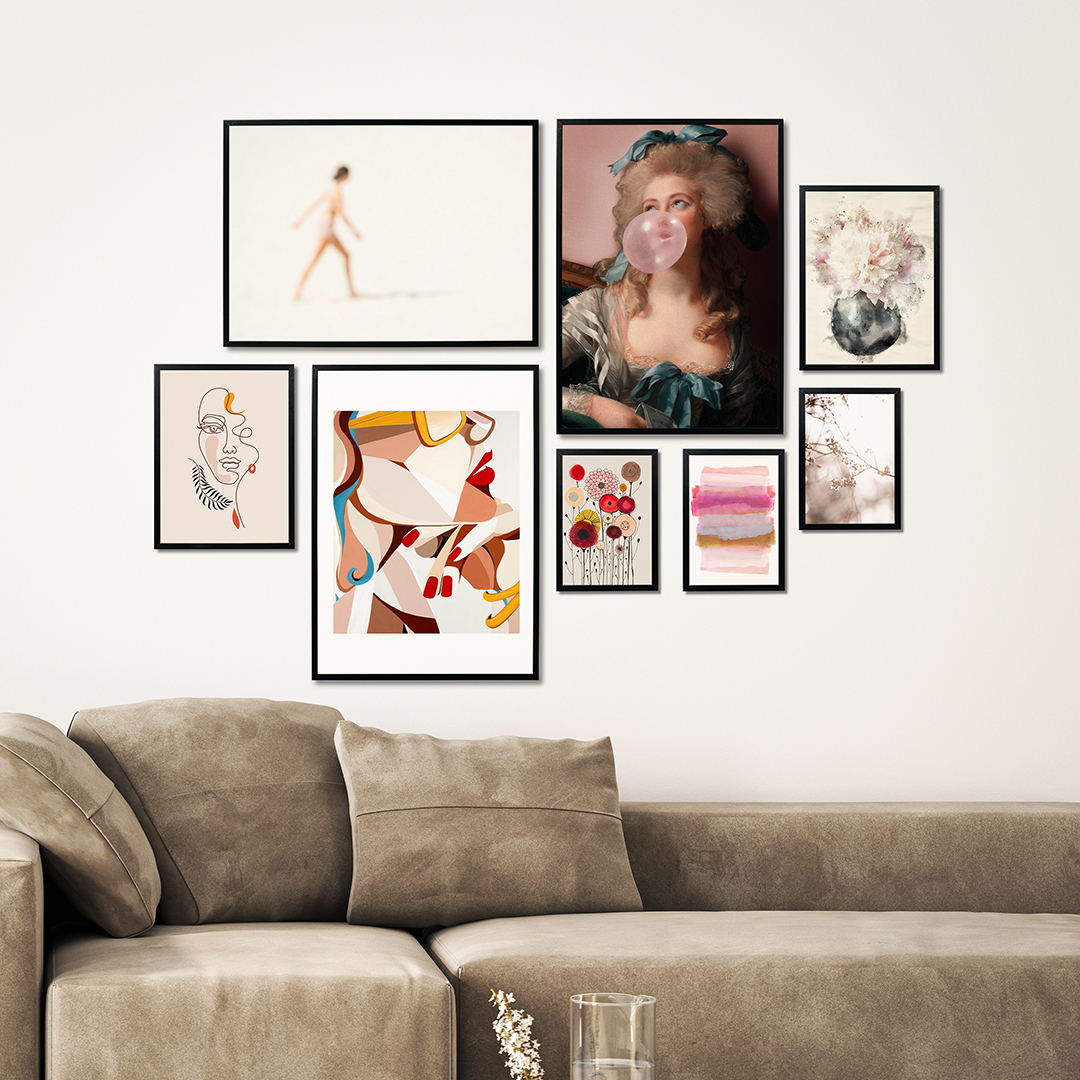
The Horizon Effect
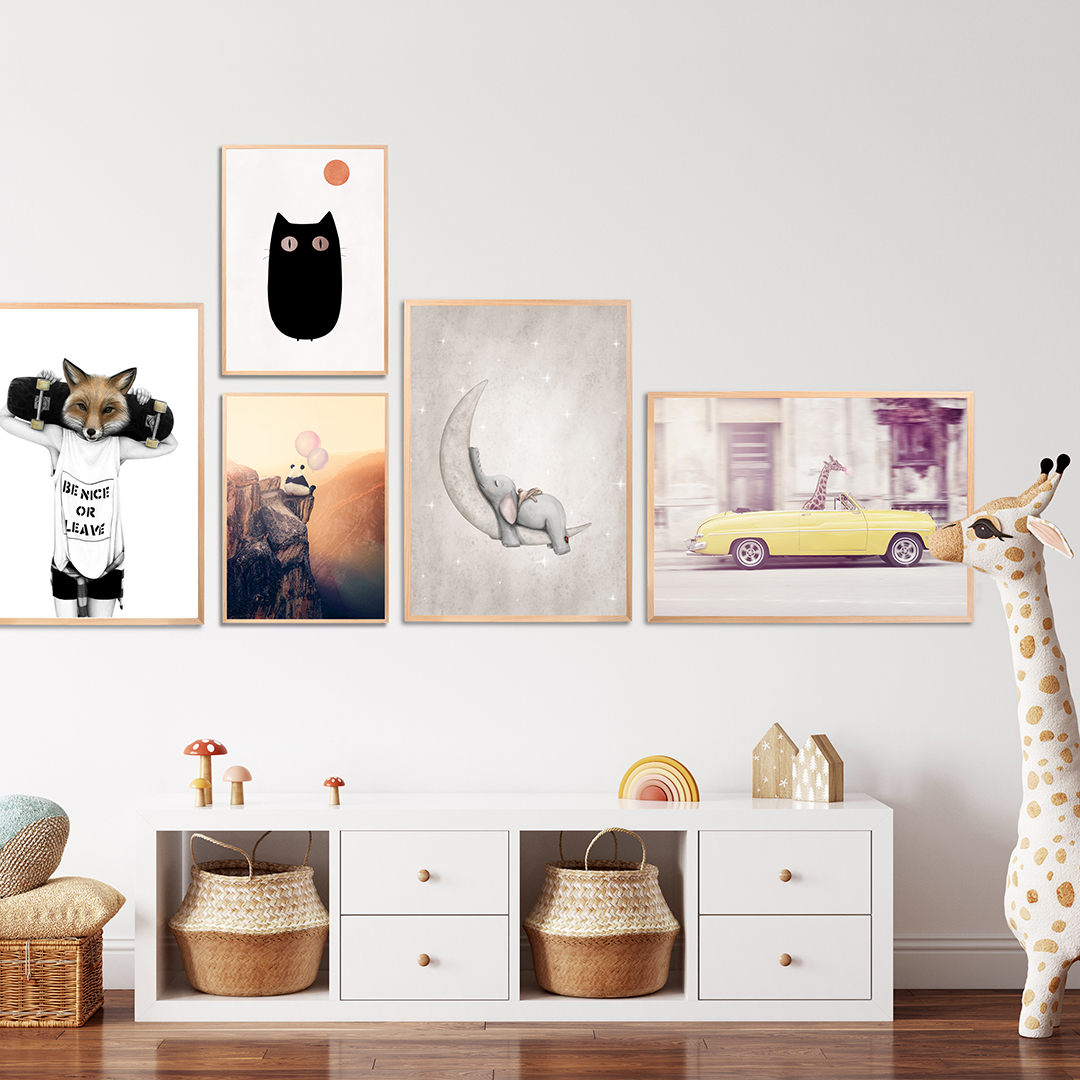
Another harmonious way of hanging pictures in a group is to draw a straight line over your entire picture wall. This is called the horizon. You can hang different sized posters above and below the horizon, and mix landscape and portrait designs without it looking cluttered. The horizon creates a sense of calm and balance.

Part III: Hanging the posters
Before you drive a nail into your wall, insert your posters into your picture frames and place them on the floor in front of the wall. The easiest way is as follows:
1. Measure your wall
Determine the total area you want your gallery wall to have.
2. Arrange the posters on the floor
The easiest way is for you to arrange and plan your posters on the floor in front of the wall according to your wishes. If you haven't ordered your posters yet, you can also cut paper or pieces of cardboard to the appropriate size. After you have arranged the placement of the posters, you determine the distance between the pictures.
3. Install your gallery wall
Use a pencil to mark where the nails should be hammered into your wall. Stick to the distance between the pictures and place your posters. One after the other, in order, to discover any possible incorrect measurements immediately.
